
Icon Tools
Last updated on 2 days ago
 AMIGASYSTEMDistro Maintainer
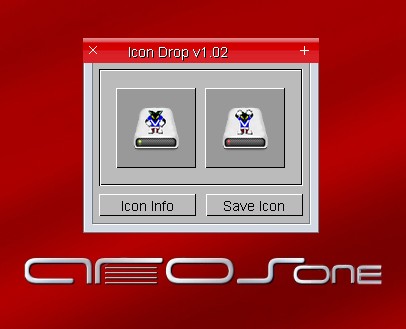
AMIGASYSTEM attached the following image:

miker1264Software Dev
Posted 4 months agoEdited by miker1264 on 02-01-2024 16:09, 4 months ago
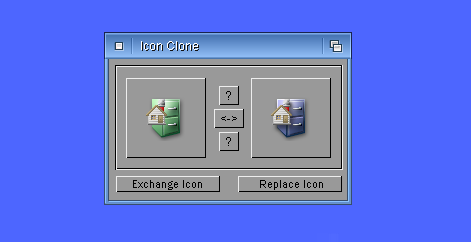
miker1264 attached the following image:
miker1264Software Dev
Posted 4 months agoAMIGASYSTEMDistro Maintainer Amiwell79Distro Maintainer
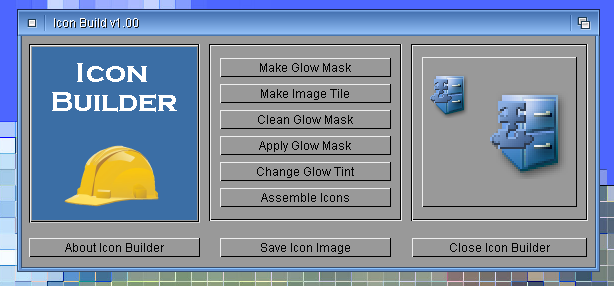
 AMIGASYSTEMDistro Maintainer
miker1264Software Dev
Posted 4 months agoEdited by miker1264 on 09-01-2024 18:27, 4 months ago
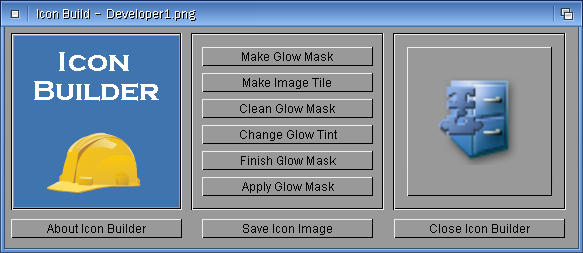
miker1264 attached the following image:
AMIGASYSTEMDistro Maintainermiker1264Software Dev
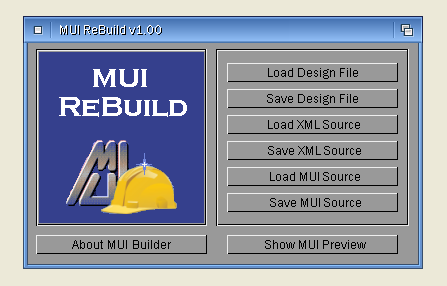
Posted 4 months agoEdited by miker1264 on 10-01-2024 13:00, 4 months ago
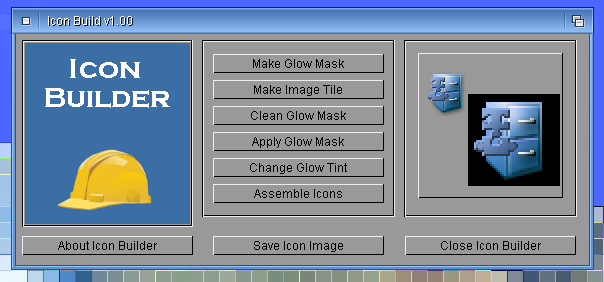
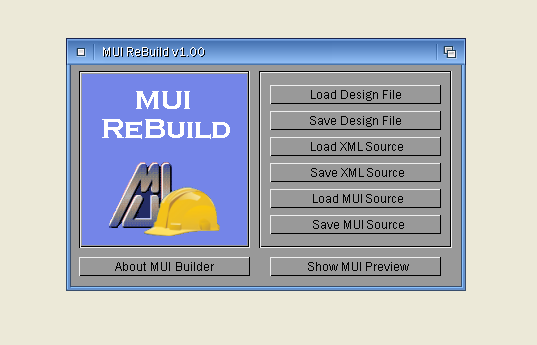
miker1264 attached the following image:

miker1264Software Dev
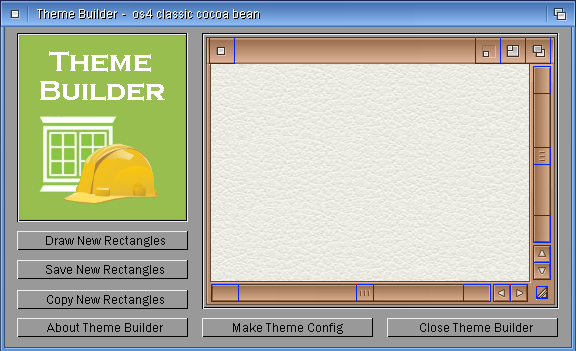
Posted 4 months agoEdited by miker1264 on 10-01-2024 15:17, 4 months ago
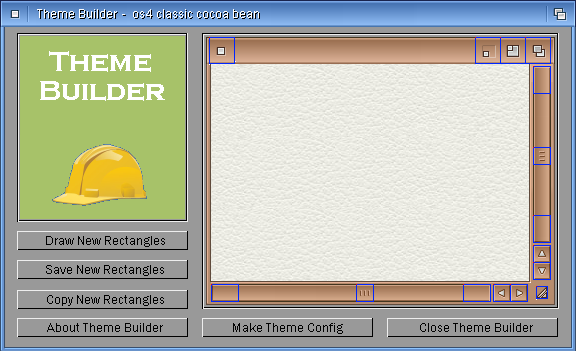
miker1264 attached the following image:
AMIGASYSTEMDistro Maintainer
AMIGASYSTEM attached the following image:


miker1264Software Dev
Posted 4 months ago
Edited by miker1264 on 10-01-2024 16:24, 4 months ago
miker1264 attached the following image:
miker1264Software Dev
Posted 4 months agomiker1264Software Dev
Posted 4 months agomiker1264Software Dev
Posted 4 months agoYou can view all discussion threads in this forum.
You cannot start a new discussion thread in this forum.
You cannot reply in this discussion thread.
You cannot start on a poll in this forum.
You cannot upload attachments in this forum.
You can download attachments in this forum.
You cannot start a new discussion thread in this forum.
You cannot reply in this discussion thread.
You cannot start on a poll in this forum.
You cannot upload attachments in this forum.
You can download attachments in this forum.
Moderator: Administrator